The connector is the start of the question
A laptop running an AI image tool might need to read references from an external drive, show an editing interface on a monitor, and keep a microphone available for notes. The shopping description for a dock offers one cable and many ports. The actual workspace depends on the paths between those ports.
This is a practical methods guide, not a new dock announcement or a report of equipment testing. You can do the first part with paper and the hardware already on your desk. The aim is to identify which connection serves each part of your work before a new accessory adds another layer.
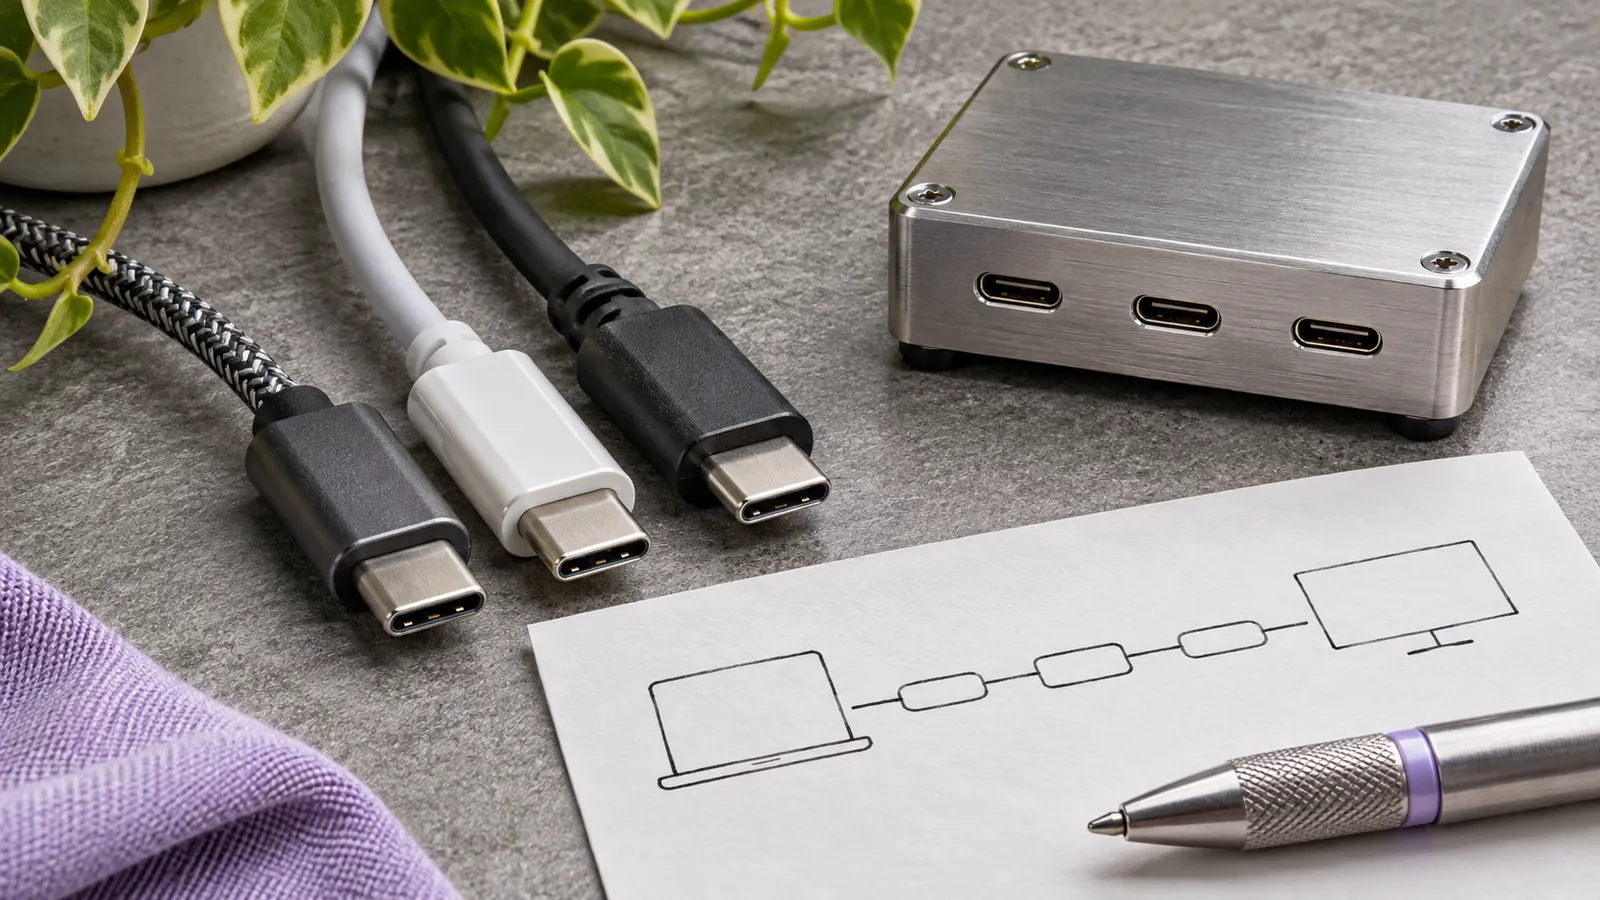
A USB-C-shaped connector does not, by itself, identify the capabilities of the computer port you selected. The Thunderbolt Technology Community’s connection-help page explicitly addresses situations where a selected USB-C connector does not support Thunderbolt. Apple likewise documents how to identify the ports on particular Mac models. Start with your computer’s documentation rather than assuming identical-looking sockets are interchangeable.
Think of a working route as a sentence: this computer sends this kind of data, through this host port and cable, into this dock port, then to this device. Each word has a job. If the sentence stops at a brand name or at USB-C, you still have an unanswered question.
That may sound fussy for a desk setup. It becomes useful when something works only sometimes, when another person borrows the workstation, or when you need to rebuild the setup after moving. A short connection map makes your own observations reusable.
Source: Anker: Prime Thunderbolt 5 A83B5 specifications and compatibility notes ↗ · Anker: A83B5 official user manual ↗ · Apple: Identify the ports on your Mac ↗ · Apple: How many displays can be connected to MacBook Air ↗ · Thunderbolt Technology Community: USB Type-C connection help ↗
Name the work before counting the ports
Imagine a student preparing illustrations for a small exhibition. The project uses a local image application, a folder of source photographs on an external drive, and one large monitor for layout review. A second screen would be convenient for reference material, but it is not required to finish the work. This is an invented scenario for planning, not a claim about any particular application.
Write down what must happen during one ordinary session. The source folder should remain accessible. The review screen should show the intended workspace. The laptop should have an appropriate power arrangement. A recording device, if used, should remain available to the chosen application. Distinguish those requirements from preferences such as having every cable hidden.
Next identify the cost of an interruption. Losing the reference display may be inconvenient. Losing access to an actively used external drive can interrupt the project more seriously. That difference tells you which route deserves the first check and which convenience you can postpone.
Keep the requirements observable. Instead of works with AI, write that a particular application must open a known source file, save an output to the intended location, and display it for review. The dock does not need to know that the file was made with AI. Your workflow does.
This also helps you avoid a misplaced upgrade. If generation time is dominated by the model or the service, an accessory with a larger advertised connection rate does not establish that generation will finish faster. Treat storage access, display behavior, network access and model computation as different jobs.
Finish this step with a small priority list: required today, useful later, and unneeded. A setup that reliably handles the first group may be a better choice than one that promises more connections you do not use.
Trace one route with exact names
For the exhibition scenario, begin with the source drive. Record the laptop model, the specific host socket, the cable used, the destination socket and the drive. You do not need to decode every protocol in the industry. You do need enough information to look up the components you have selected.
Then trace the display separately. Record which output leads to which monitor input and what display mode you intend to use. A mirrored image and an extended desktop can both produce a visible picture while serving different purposes. State which one the project requires.
Power is another route. Identify how the computer receives power and what the relevant manufacturer says about that arrangement. Do not assume a connected cable is supplying the laptop’s preferred power level merely because an icon appears. Avoid opening equipment or improvising power wiring to investigate a desk problem.
A model-specific dock manual can expose limits that a port count hides. Anker’s A83B5 documentation distinguishes the upstream computer connection from downstream connections and notes that its HDMI and DisplayPort outputs cannot be used simultaneously. Its front USB-C ports are for data and charging rather than video. Those are examples of why a route needs a particular socket.
If a dock is relevant to your setup, the Anker Prime TB5 14-in-1 docking station (affiliate link) is an optional example with a built-in power supply and an included Thunderbolt 5 cable, according to its official manual. Check the exact host, operating-system, display and cable requirements before buying; this is not a claim that every feature works on every laptop.
As an Amazon Associate I earn from qualifying purchases. This optional recommendation is not a claim of hands-on testing.
You can apply the same mapping method to a dock you already own or to direct connections. The purpose is to understand your existing routes, not to make a purchase necessary.
Read the limits as a combined configuration
A computer, a dock and a monitor can each advertise impressive capabilities without promising the exact combination you want. Write the intended combination beside the relevant documentation so the unresolved parts become visible.
For a MacBook Air, Apple’s guidance says the supported number of external displays depends on the Mac model and the displays’ resolution and refresh rate. It also notes that a supported hub or daisy chain does not increase the computer’s maximum supported display count. Adding sockets is different from adding the underlying ability to drive more screens.
For another computer family, find the equivalent model-specific guidance. A generic statement about a brand or connector does not answer which display combinations a particular machine supports. If the documentation does not establish your intended combination, leave it marked as unverified.
Be careful with the word up to. It describes a boundary under conditions that may differ from your own. Do not combine the highest display number from one part of a page, the highest refresh rate from another, and the fastest data figure from a third into a promise no source actually makes.
Record conditions that matter to the session. These might include whether the computer’s own display is active, which outputs are occupied, and the selected display mode. Use the conditions documented for your exact equipment, rather than borrowing a rule from a different model.
When vendor pages disagree or use different minimum-system wording, consult the current model manual and support guidance before making the setup depend on the disputed feature. Asking the manufacturer a precise configuration question is more productive than asking whether a dock is compatible in general.
The result of this review can be a confident decision to use fewer connections. That is not a failed plan. It is a plan with fewer unresolved assumptions.
Use a small connection rehearsal
Choose a short, representative task you can repeat without risking the only copy of a project. In the exhibition example, use a duplicate source image and a clearly identified output folder. Save any open work before changing connections.
Begin with a documented simple setup. Open the source file, perform one ordinary edit, and save the result where you expect it. Confirm that the output opens. This establishes a workflow baseline; it does not measure maximum hardware performance.
Add the next required connection and repeat the relevant part. If the new monitor changes how the application arranges its windows, inspect that behavior. If an external drive disappears, record the observation and return to the last working configuration before guessing at the cause.
Change one meaningful condition at a time. Swapping the cable, updating the operating system, changing the display mode and adding another device together may produce a working desk, but it will not tell you which change mattered. A smaller comparison gives you an explanation you can use later.
Include the transitions your work actually involves. If you regularly disconnect the laptop and return later, review what happens on reconnection using the manufacturers’ instructions. If sleep and wake are part of your routine, check whether the application and devices return to the expected state. These are proposed checks, not reported results from our testing.
Make the failure notes concrete. The monitor was blank after wake is an observation. The dock cannot handle this model is a much broader conclusion. The evidence might instead point to a cable, a selected input, a setting or an unsupported combination. Keep those possibilities open until you can distinguish them.
Do not keep forcing a connection that shows physical damage, abnormal heat or another clear equipment problem. Follow the manufacturer’s support route. A methods exercise should reduce uncertainty without turning the desk into an improvised repair bench.
Keep measurements attached to the work they describe
If timing matters, define what you are timing before comparing setups. Opening a source folder, copying a file, generating an image and exporting a finished asset are separate intervals. Combining them into one number can hide the part you actually want to improve.
For a simple observation, use the same representative files and application operation. Record what else was running and whether the files were already available locally. Avoid claiming that a faster second attempt demonstrates a hardware benefit when several conditions changed.
You may not need a speed number at all. If the practical question is whether the external drive remains available during an export, record availability and the result of the export. A maximum transfer-rate test would answer a different question.
The same discipline applies to charging. A specification for a port is not a measurement of what your computer received during a session. Unless you have an appropriate method and evidence, report the documented rating and your observed status separately. Do not invent an exact delivered wattage from an accessory’s headline.
For AI work, keep the model configuration visible when it affects the task. A different model, output size or generation setting could change the workload more than a connection change. If those conditions differ, describe the comparison as exploratory rather than assigning the entire effect to a dock.
A useful session note can be very short: the configuration, the task, the observed result and the unresolved question. Its value comes from making the result interpretable, not from collecting as many numbers as possible.
Leave a map you can rebuild
Once a configuration works for the required task, save its connection map with the project’s setup notes. A quick photograph of the relevant ports can supplement the written identifiers, provided it does not reveal private material. Keep labels readable to the next person who will use the desk.
Record the software and firmware versions that were relevant to your review, without turning every future update into an automatic reason to repeat every check. Revisit the affected route when a change, a failure or a new requirement gives you a reason.
Also preserve the simplest fallback. For the exhibition, that might be a single review screen and a directly connected drive. If a more elaborate configuration fails near the deadline, the fallback lets the creator continue the actual project instead of solving every accessory problem at once.
A connection map does not promise that equipment will never fail. It does make the next failure easier to describe and the last working state easier to recover. That is a useful result for any creator working with large files, generated images or several devices.
Before adding another dock, know which route you are trying to improve. You may find a missing capability, a cable mismatch, an unnecessary detour or simply a requirement that was never written down. Each is a more actionable discovery than a longer list of ports.
Try this, then make it yours.
Sketch your current setup using equipment you already own. Pick one important route, record its exact ports and cable, and verify one representative task before considering an upgrade.
Follow the signal.
Our reporting starts here. Practical suggestions are our analysis, and vendor performance statements are claims unless independently verified. We haven’t hands-on tested this release.
- Anker: Prime Thunderbolt 5 A83B5 specifications and compatibility notes ↗
- Anker: A83B5 official user manual ↗
- Apple: Identify the ports on your Mac ↗
- Apple: How many displays can be connected to MacBook Air ↗
- Thunderbolt Technology Community: USB Type-C connection help ↗