Start with the record you want to keep
Imagine finding a tape marked Summer 1998 in a box of family photographs. The picture rolls briefly, the room is dim, and two people are talking over the sound of a fan. A restoration tool could make the scene easier to watch. But if that version becomes the only copy, someone opening it ten years later may not be able to tell which details came from the tape and which came from software.
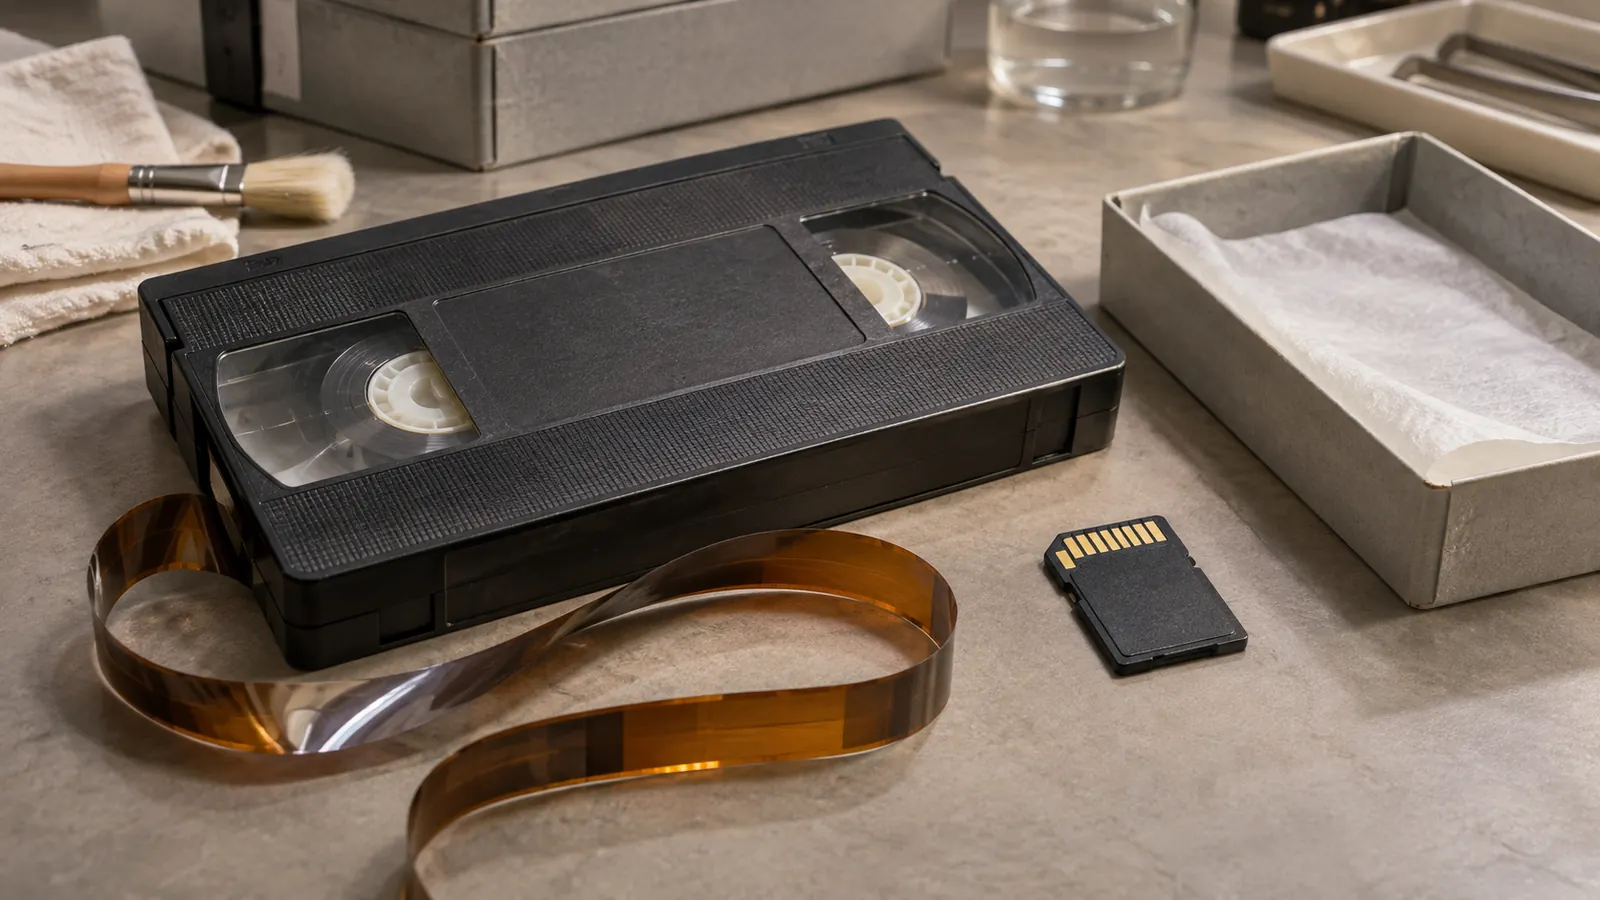
This is a methods guide, rather than a product announcement or a report of a restoration we performed. Its starting point is the Library of Congress guidance for personal audiovisual collections: look after physical media and make sustainable digital copies where appropriate, because playback equipment can become hard to find. The digital copy also needs care. Moving a recording from a cassette to a file is the beginning of a different preservation job.
Our suggested workflow has two separate outputs. One is the earliest digital capture that you have checked and can play. The other is whatever you make from that capture to help someone watch, find or understand it. Both can be useful. Giving each its own place preserves your ability to revisit the choices you made.
The distinction matters even if your improvement seems obvious. Turning up the audio is an editorial decision. Filling in a blurred face is a much bigger one. The record should survive either choice.
Source: Library of Congress: Audio and visual preservation FAQ ↗ · Library of Congress: Reformatting and digitizing guidance ↗ · Portta: VD10 / CHR101 recorder specifications ↗ · Portta: VD10 setup and troubleshooting ↗
Inventory the box without guessing what is on each tape
Before you buy or connect anything, give each item a stable identifier. For a small collection, a spreadsheet can be enough. Put an identifier, the wording on the label, the apparent format, and the condition you can observe into separate columns. Add a field for who can authorize copying and another for who can receive the result. Leave unknown values open.
For the fictional Summer 1998 tape, the label tells you what someone wrote on the case. It does not establish when everything on the tape happened. There could be footage recorded over several years or a label that was transferred from another box. Keeping label text apart from confirmed content prevents a guess from becoming the permanent title of the file.
Sort the collection by urgency and difficulty before choosing a starting point. An ordinary, playable tape that you have permission to copy can teach you the workflow. A visibly damaged tape or one that appears contaminated is a poor practice item. The Library of Congress recommends against trying to play damaged tape and points people toward specialized audiovisual preservation services where needed.
A careful inventory can also reveal that some material has already been captured. Ask relatives or the project owner about existing digital files before assuming every cassette needs to be run again. An earlier capture with a clear chain of custody may be more valuable than a rushed replacement with undocumented processing.
If you are working with a group, choose one location for the inventory and agree on how changes get recorded. The history of corrections can be simple: who supplied a date, what they observed, and which entry changed. The goal is to make uncertainty visible before it gets embedded in dozens of filenames.
Follow the signal before judging the equipment
A capture chain begins with a machine that can play your specific source. It continues through the playback machine's output, the recorder's supported input, and the destination that stores the resulting file. A cable that fits is only one part of that chain. Consult the manuals for the devices you will actually use, including the expected input signal and storage.
For an optional standalone capture example, the Portta VHS-to-digital converter and recorder (affiliate link) is the VD10, also identified by Portta as CHR101: the manufacturer lists composite and S-Video inputs and records video as MP4, and its setup guide specifies a USB flash drive. It requires a separate compatible playback machine, such as a VCR for VHS.
As an Amazon Associate I earn from qualifying purchases. This optional recommendation is not a claim of hands-on testing.
There is no need to buy equipment to plan or rehearse this workflow. Begin with an existing digital clip you have permission to use. For a new capture, borrowing compatible equipment or using a suitable transfer service may make more sense, especially for a few recordings or a format you cannot inspect confidently. If choosing a service, ask what file it delivers, whether any corrections are applied automatically, and whether it returns the original media.
Don't use a screenshot of the recorder's preview as the quality check. The object you will keep is the saved file. It needs to open somewhere other than the recording device and contain the expected picture and sound. It is possible to see a signal during capture and still end up with an incomplete file.
A useful capture note records the source identifier, playback and recording devices, input used, approximate duration, and any visible interruption. Write down what you know, even when the setup is borrowed or improvised. That note will help a future reviewer distinguish a problem in the original material from a problem introduced during transfer.
Decide what makes a first capture acceptable
Choose a short sample with enough variation to reveal common problems. A quiet opening followed by intelligible speech gives you a better audio check than a silent scene. A movement that produces a sound, such as a door closing, gives you a moment to compare picture and sound. These checks help identify visible issues; they are not a promise that a recorder is correctly calibrated.
After saving, play the exported file from its destination. Listen with equipment you already know works. Check the beginning, a middle point and the ending. Write down any unexpected blank section, abrupt ending, repeated image or mismatch. For a full transfer, sampling is only a start; review more thoroughly when the material matters or something looks wrong.
Separate observations from explanations. In a sample log, picture disappears for four seconds at 03:12 is useful. The recorder lost the signal is a hypothesis until you have evidence about the source or chain. If a second pass is appropriate and safe for the media, change one relevant condition so the comparison tells you something. Do not repeatedly play fragile material just to chase a cleaner result.
Keep unsuccessful captures away from the accepted file. Otherwise it is easy to confuse a partial export with the reviewed one after a few weeks. A file name can include the tape identifier and capture attempt, while a note states which attempt you selected and why.
Review one file all the way through the next step before committing the box. Can you copy it to another location and open that copy? Does the file remain understandable without the capture device? Does the inventory give you enough information to put the original and the file together? This small handoff check may reveal more than another round of adjusting image settings.
Create an access copy with a visible lineage
Once the capture is accepted, keep it in a location where editing applications will not casually replace it. Make a separate copy for ordinary use. You can call the first file a capture original within your project, as long as your notes explain that it is a digital transfer of a physical tape, not the camera original or a professionally certified preservation master.
For example, a folder could contain T014-capture-01.mp4 and a second file named T014-access-01.mp4. The first stays unchanged after review. The second might be shortened or adjusted for people who want to watch it. If another editor later makes a restoration, its file name and notes should point back to the capture used.
Record meaningful changes in plain language. Adjusted overall audio level, cut the opening blank segment, and cropped the outer edge of the image are more useful than enhanced. Note the app or tool version if you have it. If an export adds captions, say whether they were machine-generated and whether a person reviewed them.
You can make different access copies for different audiences. A family copy might include a long scene that would be irrelevant to a public history project. A shareable excerpt may need to omit faces, identifying details or conversations. Keeping a separate export lets you make that choice without editing the preserved capture.
Test recovery before calling the project done. Open a backed-up copy on a device you expect to use later. Confirm that the inventory and edit notes are also there. A backup that contains media but no identifiers may leave someone with a folder of playable files and no way to connect them to the recordings they wanted.
Give AI a reversible job and review its guesses
A good first use of AI is to suggest search terms for a clip you are allowed to process. In the invented family example, a transcription tool might propose timestamps where someone mentions a town. A person can listen at those timestamps and distinguish a place name from a similar-sounding word. The approved keyword belongs in the catalog; the unchecked suggestion belongs in a separate draft.
Use the same distinction for names and dates. A model can propose a description such as group gathered around a table, which can be checked against the picture. It should not turn a blurry person into a named relative or infer a year from clothing and treat that as confirmed. Keep inferred information visibly separate from known details, especially when other people will search the archive later.
Restoration goes further because it changes what people see or hear. Treat inferred details as modifications, not recovered evidence. If a processed clip makes a background voice sound distinct, compare the result with the capture before adding a transcript. If a tool alters a face or fills in missing frames, preserve the unchanged capture and describe the intervention in the access copy's notes. A pleasing result does not tell you whether the new detail was actually present.
Decide where the clip can go before uploading it. Permission to hold a private copy may not cover sharing with a cloud service or publishing an edited clip. Check who is identifiable, what information the recording includes, and what the service says about uploaded material. A short, non-sensitive sample or an entirely manual note may do the job without exposing a private recording.
For the first trial, pick one change and one check. If the goal is searchable dialogue, review a few terms with timestamps and leave the picture alone. If the goal is comfortable viewing, compare an edited excerpt with the original at the same moment and record the tradeoff. Doing one task at a time makes it easier to reject an edit without abandoning the project.
Finish with a handoff someone else can understand
Give a trusted person the copy they are allowed to receive and the small piece of documentation that goes with it. Ask them to locate one moment, identify which file is the earliest digital capture, and tell you what was changed in the version they watched. If they cannot do those three things, the handoff still has a gap.
Do this before digitizing a large collection. A clear file name, short inventory and accurate notes can be tested on a single recording. If the approach works, reuse it. If it creates extra work or ambiguity, revise it before applying it to every tape.
Some projects will stop at a checked capture and a catalog. Others will create carefully marked access copies and excerpts. The decision depends on what the people using the archive need. There is no requirement to apply AI merely because a tool offers it.
The win is a recording you can find, play and interpret later, with enough evidence to distinguish what you received from what you changed. A better-looking copy can be part of that outcome. It should leave the earlier record available for the next person who wants to see it.
Try this, then make it yours.
Choose a short recording you are allowed to copy. Verify picture and sound in a digital capture or an existing file, then make a separate annotated derivative with one documented change.
Follow the signal.
Our reporting starts here. Practical suggestions are our analysis, and vendor performance statements are claims unless independently verified. We haven’t hands-on tested this release.
- Library of Congress: Audio and visual preservation FAQ ↗
- Library of Congress: Reformatting and digitizing guidance ↗
- Portta: VD10 / CHR101 recorder specifications ↗
- Portta: VD10 setup and troubleshooting ↗